Let’s take your first steps in Excel. In this lesson you will open Excel and create workbooks — and set up quick ways to launch it so it’s always one click away.
Open Excel from the Start menu
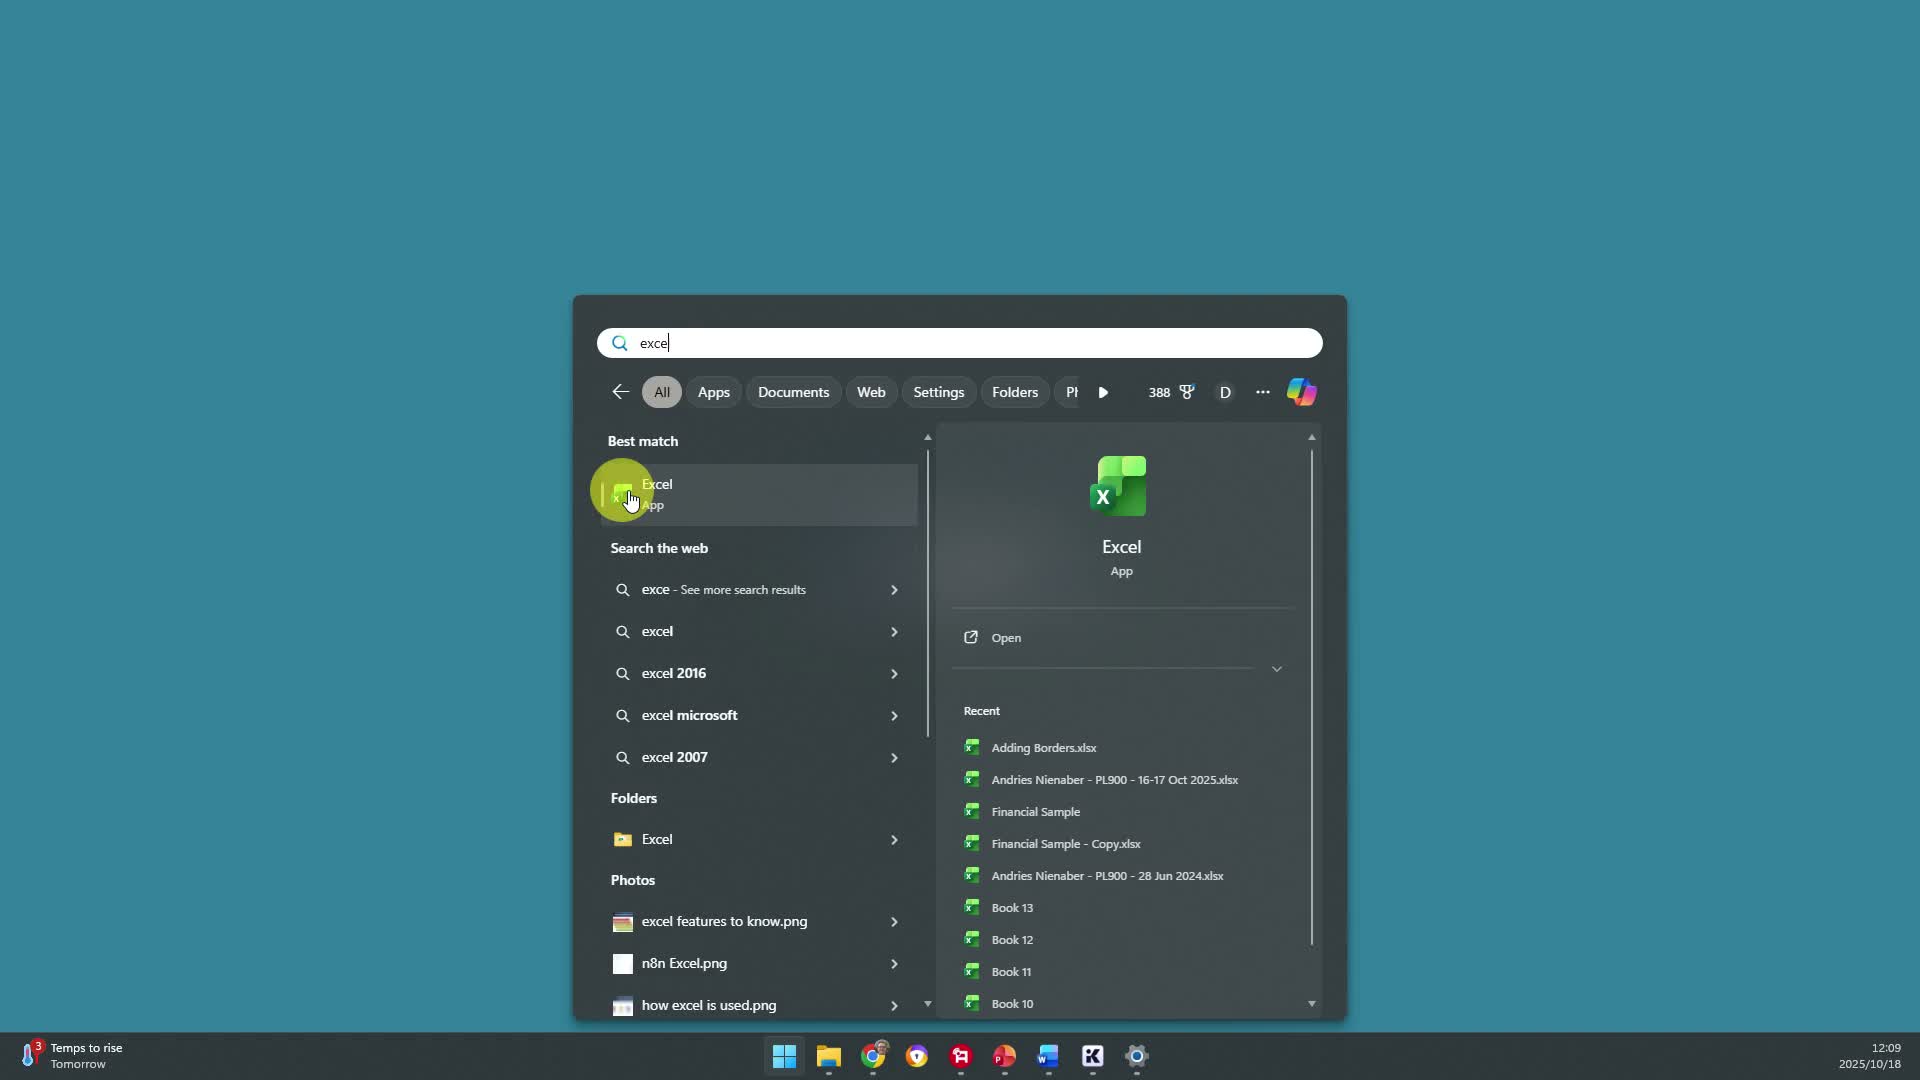
Click the Start button on the taskbar. In the search box, type Excel.
You are using the latest release: Excel for Microsoft 365. Click the Excel icon to launch it.
Pin Excel to the taskbar
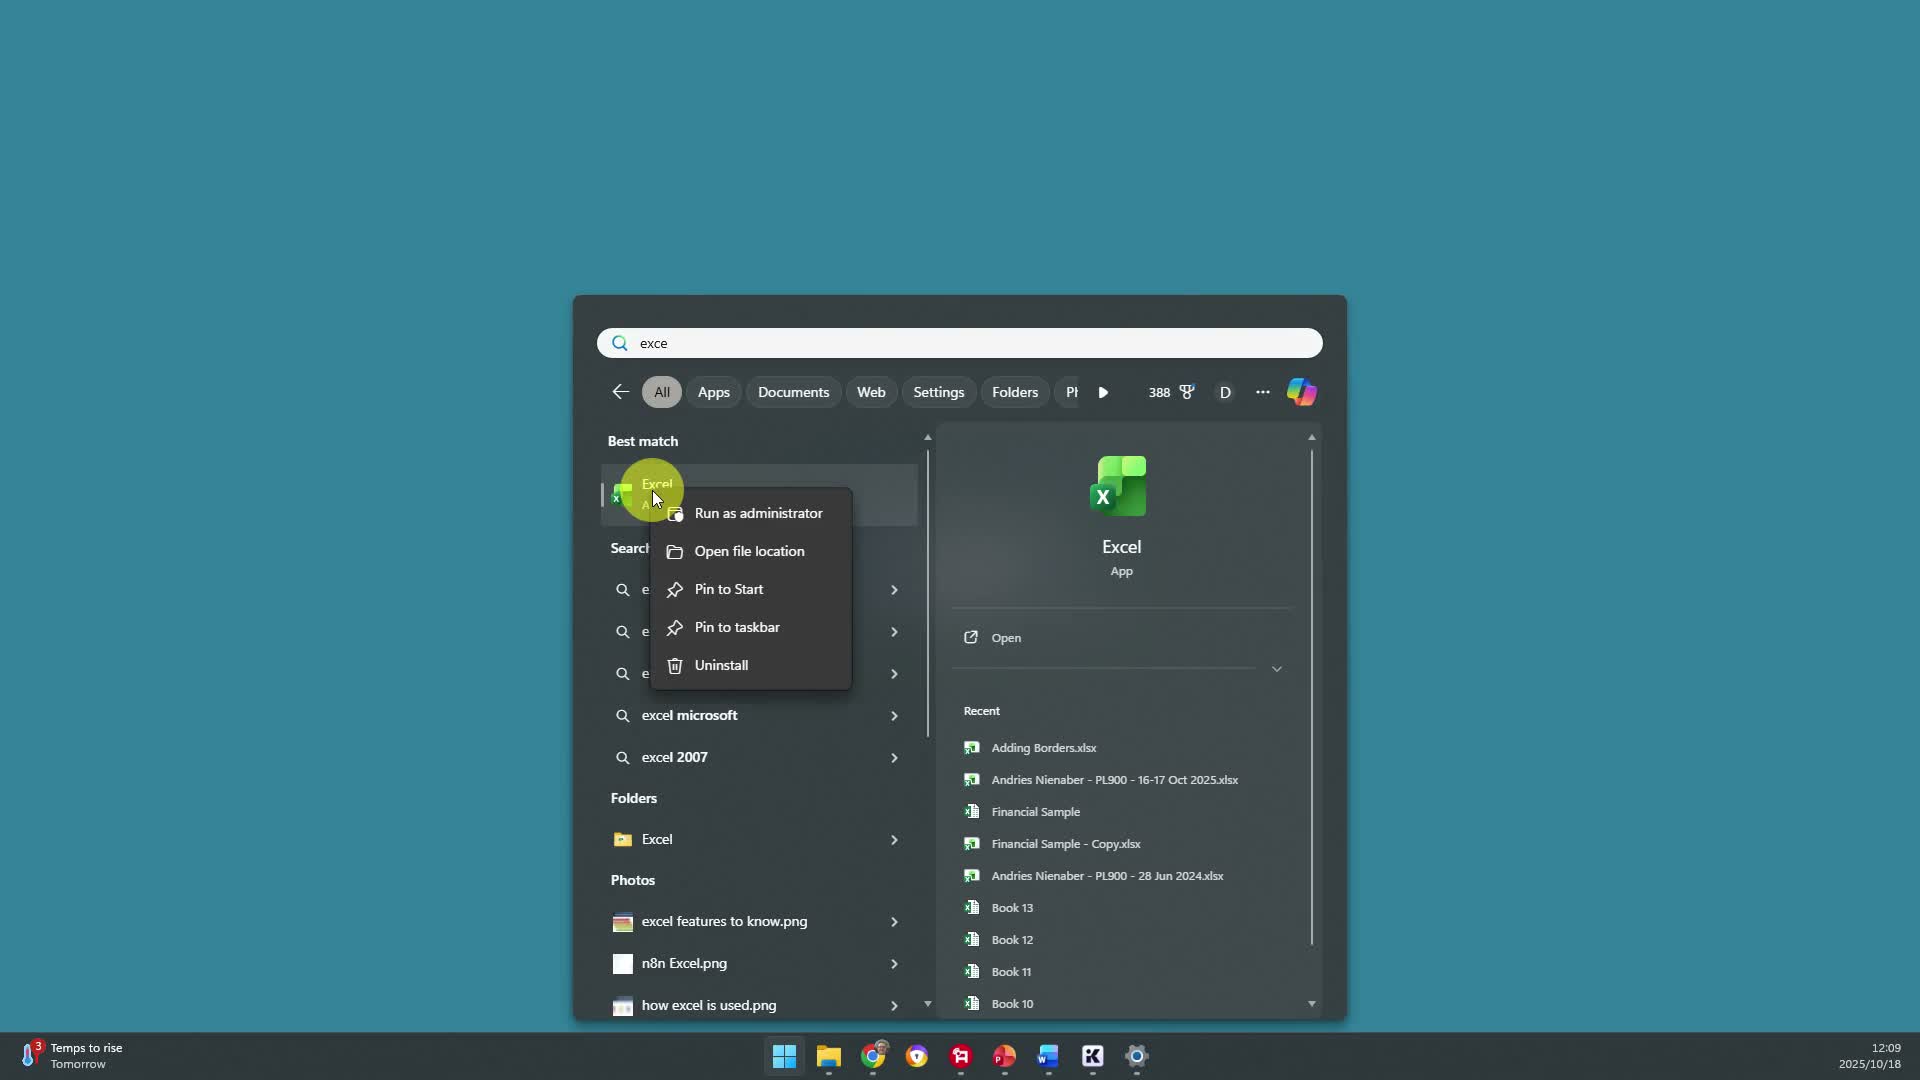
To keep Excel handy, pin it. Click Start and search for Excel again. Right-click the Excel icon, then choose Pin to taskbar.
The Excel icon now appears in the taskbar. Click it any time, and Excel opens.
Pin Excel to the Start menu
You can also pin Excel to the Start menu itself. Click Start, search for Excel, right-click the icon, and choose Pin to Start.
Now Excel sits pinned in your Start menu. Click it, and Excel opens.
Create a desktop shortcut
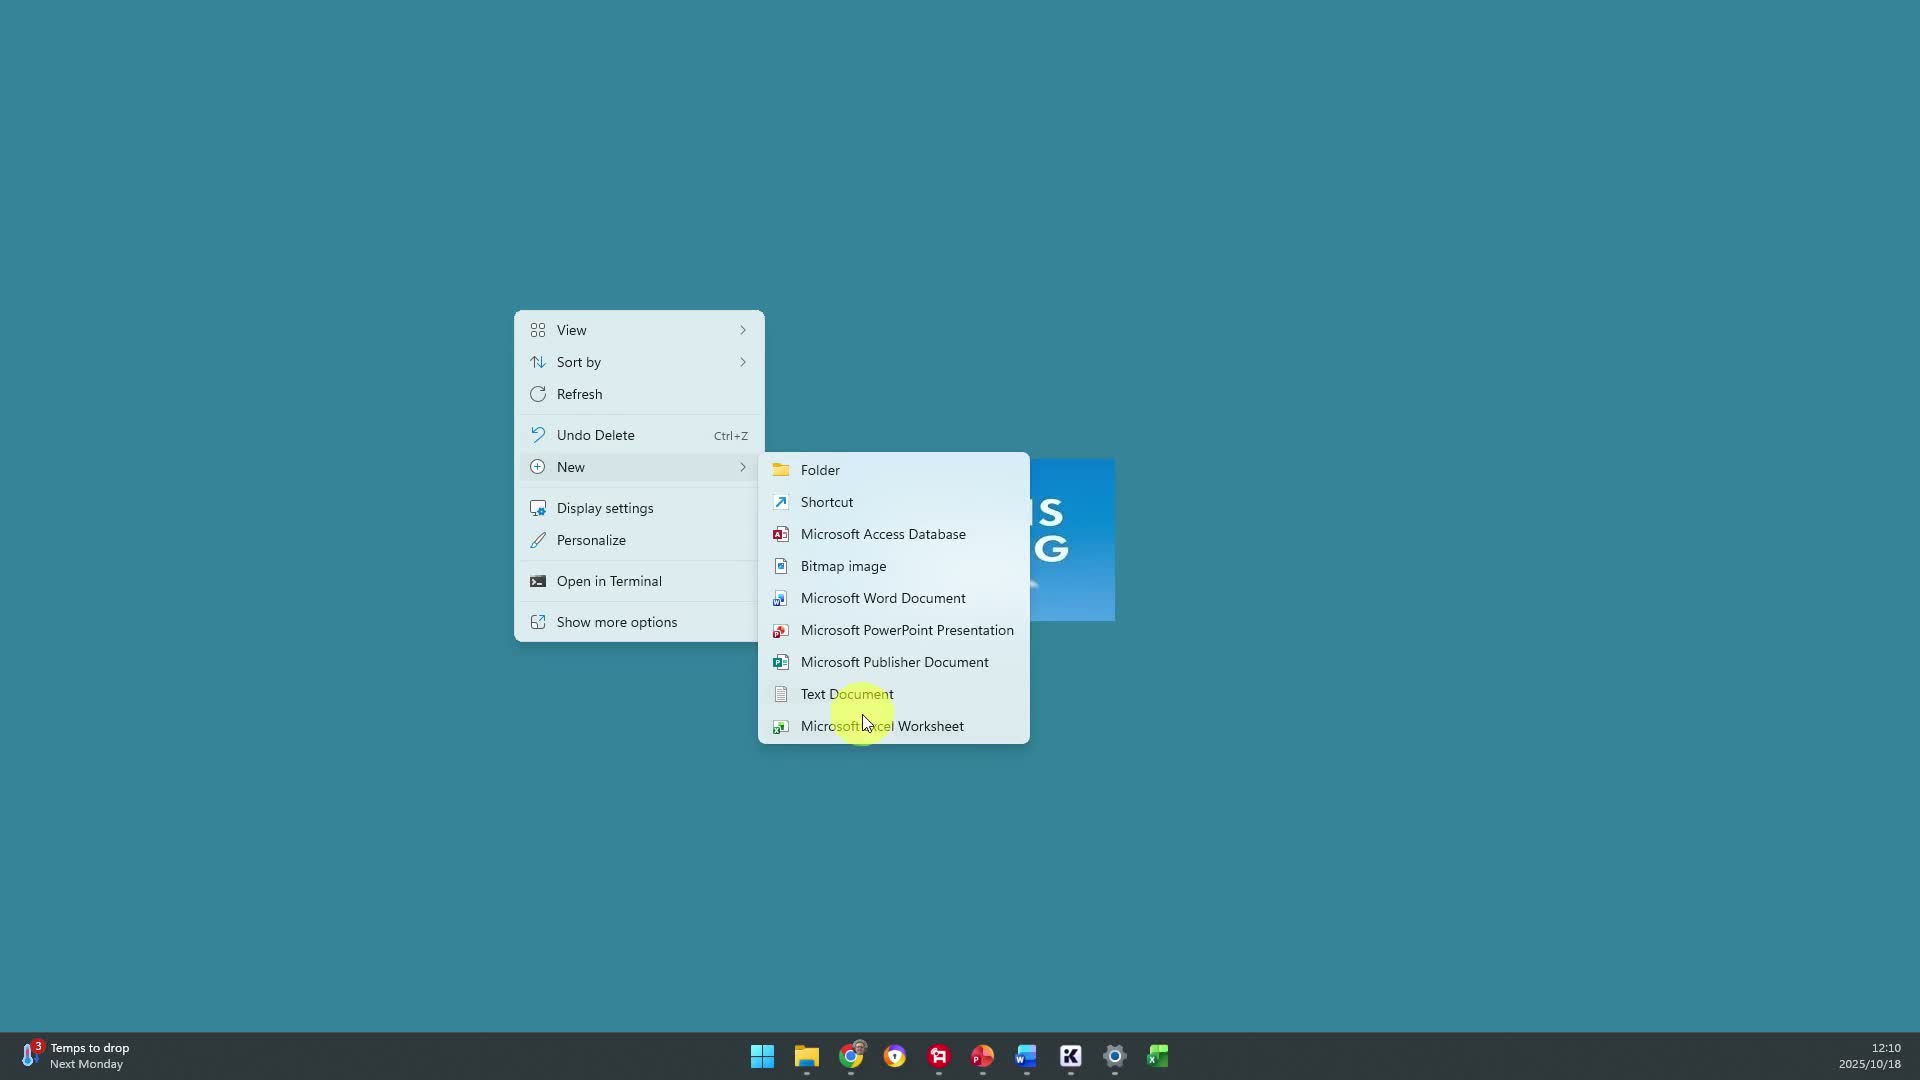
You can also make a desktop shortcut. Right-click the desktop, go to New, then Shortcut, and select Excel from the list.
Right-click the new shortcut, choose Rename, and call it Excel. Now just double-click the icon, and Excel opens for you.
Note: Copilot is built in
This new version of Excel includes Copilot built in, so you don’t need an extra subscription. It’s a lighter version of Copilot, but it’s included free.
Key takeaways
- Open Excel by clicking Start and typing Excel in the search box.
- Pin Excel to the taskbar or Start menu so it’s always one click away.
- A desktop shortcut gives you a third quick way to launch Excel.
- The latest Excel for Microsoft 365 includes Copilot at no extra cost.